Understanding Exposure
Exposure is the foundation of photography, dictating how light or dark an image will appear. It is determined by three key elements: aperture, shutter speed, and ISO. Aperture controls the amount of light entering the lens, shutter speed determines the duration the sensor is exposed to light, and ISO adjusts the sensor’s sensitivity to light. Mastering exposure allows photographers to capture images that are neither too bright nor too dark, achieving a well-balanced composition.
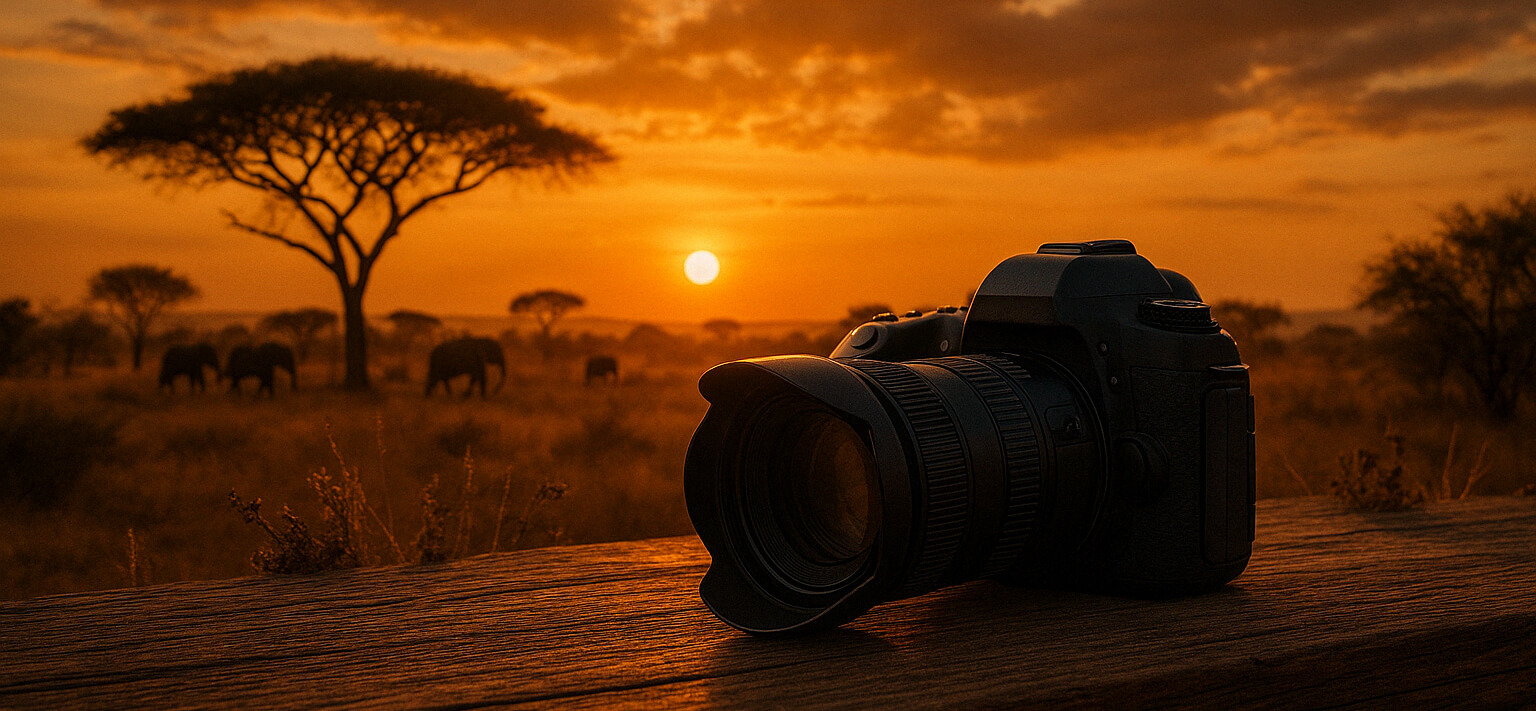
Imagine photographing a sunset. The goal is to capture the vibrant colors without losing details in the shadows. By adjusting the aperture to a larger setting (lower f-number), you allow more light to enter. A slower shutter speed can help in low-light conditions, but be cautious of camera shake. Increasing the ISO can also assist, though it may introduce noise.
Actionable Tip: Practice shooting in manual mode. Start by setting the ISO based on the lighting conditions, adjust the aperture for the desired depth of field, and use the shutter speed to balance the exposure. This hands-on approach will deepen your understanding of how these elements interact.
Mastering Composition
Composition refers to the arrangement of elements within the frame, significantly impacting the visual appeal of your photographs. One of the most popular guidelines is the Rule of Thirds, which suggests dividing the frame into nine equal parts using two horizontal and two vertical lines. Positioning key elements along these lines or at their intersections often results in a more balanced and engaging image.
For instance, when photographing a landscape, place the horizon on the top or bottom third of the frame rather than in the center. This technique can create a more dynamic and interesting composition. Similarly, placing a subject off-center makes the image more intriguing and can lead the viewer’s eye through the scene.
Actionable Tip: Enable the grid overlay on your camera or smartphone to visualize the Rule of Thirds as you shoot. Experiment by framing different subjects with this grid in mind, and observe how it enhances the overall composition of your photographs.
Utilizing Natural Light
Natural light is an accessible yet powerful tool that can dramatically influence the mood and quality of your photographs. The characteristics of natural light change throughout the day, offering a variety of opportunities to create stunning images. The golden hour, occurring shortly after sunrise and before sunset, provides soft, warm lighting that is particularly flattering for portraits and landscapes.
Consider the scenario of capturing a portrait outdoors. During midday, the harsh sunlight can create unflattering shadows. Instead, shoot during the golden hour when the light is more diffused, resulting in a softer and more pleasing appearance. If shooting midday is unavoidable, seek open shade or use a reflector to manage the light.
Actionable Tip: Spend a day observing how natural light changes from morning to evening. Take photos at different times, paying attention to how the light affects the mood and shadows in your images. This exercise will enhance your ability to work with natural light effectively.
Post-Processing Basics
Post-processing is the digital equivalent of the darkroom, allowing photographers to enhance and refine their images. Basic post-processing skills include adjusting exposure, contrast, saturation, and sharpness. These adjustments can correct imperfections, emphasize key elements, and bring your creative vision to life.
Suppose you have a photo that is slightly underexposed. By using editing software like Adobe Lightroom or even simpler tools like Snapseed, you can adjust the exposure to brighten the image. Increasing contrast and saturation can add depth and vibrancy, making the photo more eye-catching. However, it’s crucial to maintain a balance to avoid over-editing.
Actionable Tip: Start with free or affordable editing apps to familiarize yourself with basic adjustments. Focus on one aspect, such as exposure, and test how incremental changes affect your images. Gradually incorporate more tools into your workflow to develop a polished and professional look.