Understanding Exposure: The Key Elements of Photography
Exposure is the foundation of photography, dictating how light or dark an image appears. It’s controlled by three key elements: aperture, shutter speed, and ISO. These elements work together to create the perfect exposure for each shot. Aperture determines the depth of field, shutter speed controls motion blur, and ISO affects image noise. Understanding how these elements interact is crucial for any photographer aiming to move beyond auto modes.
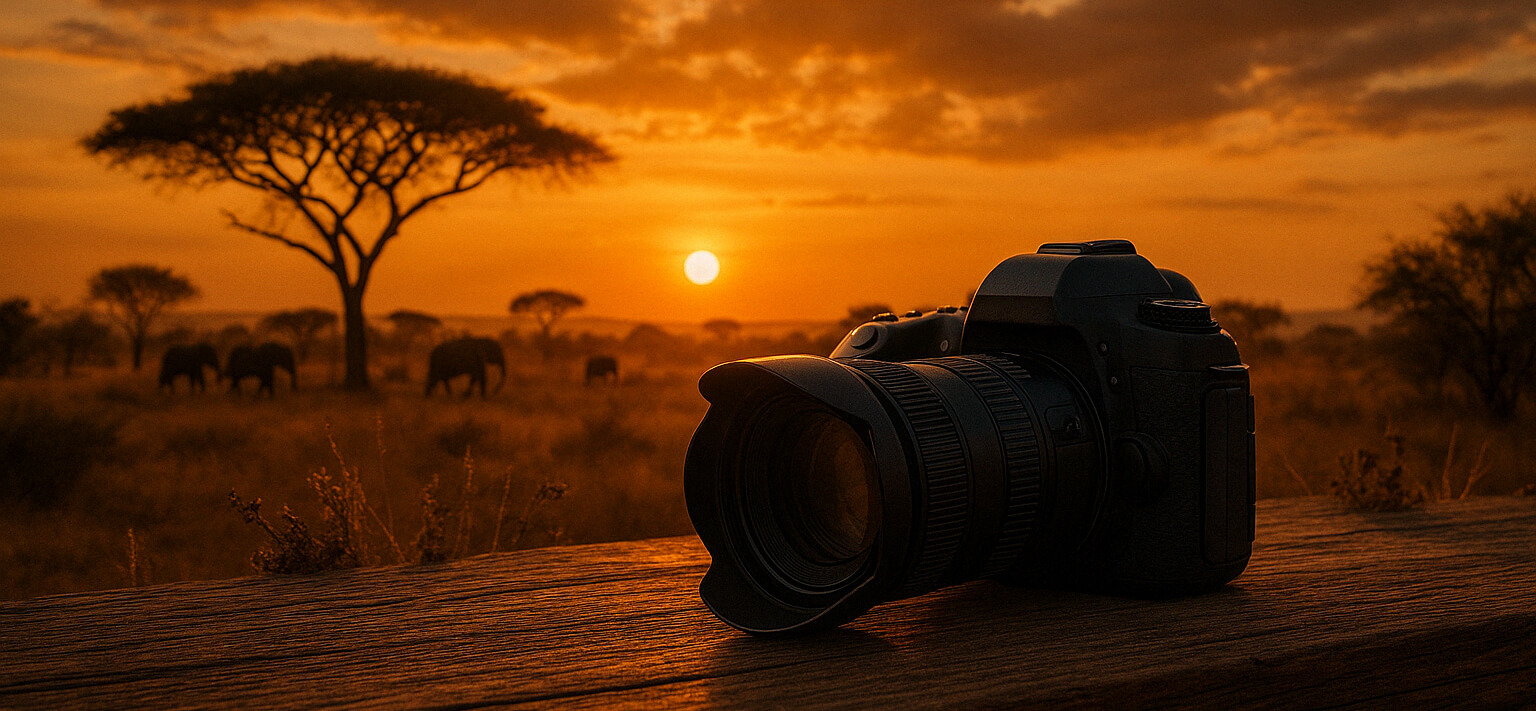
Consider a landscape photo taken during the golden hour. To capture the vibrant colors and details of the scene, a photographer might use a small aperture (like f/16) to ensure everything from foreground to background is in focus. A slower shutter speed (like 1/30) allows more light to hit the sensor, while a low ISO (such as 100) keeps noise to a minimum.
Tip: Try experimenting with different combinations of aperture, shutter speed, and ISO to see how they affect your images. Set your camera to manual mode and practice shooting the same scene with varying settings to understand how each element influences the final photo.
Mastering Composition: The Rule of Thirds and Beyond
Composition is the art of arranging elements within your frame. The rule of thirds is a fundamental guideline that suggests dividing your image into nine equal parts with two horizontal and two vertical lines. Placing key elements along these lines or at their intersections can create more balanced and engaging photos. However, mastering composition goes beyond this rule, incorporating leading lines, symmetry, and framing.
Imagine photographing a portrait. By positioning the subject’s eyes along the top third line, you create a focal point that draws the viewer in. Similarly, using leading lines like a path or a river can guide the viewer’s eye through the image, creating a sense of movement and depth.
Tip: Next time you’re out shooting, consciously apply the rule of thirds. Then, challenge yourself to break it creatively. Explore other compositional techniques like framing your subject within natural elements (e.g., a tree arch) or experimenting with symmetry to find what works best for your style.
The Importance of Lighting: Harnessing Natural and Artificial Light
Lighting is a critical component in photography that can dramatically alter the mood and impact of an image. Natural light varies throughout the day, offering different qualities that photographers can exploit. Meanwhile, artificial lighting provides control and consistency, essential for studio work or low-light conditions. Understanding how to effectively use both types of light is a skill every photographer should develop.
Take, for example, a still life photo of food. Using natural light from a nearby window can create soft, pleasing shadows and highlights that enhance the texture of the dish. Conversely, incorporating artificial light, such as a softbox, allows for precise control over the direction and intensity of the light, ensuring the subject is perfectly illuminated.
Tip: Experiment with different lighting conditions. Try shooting during the golden hour for warm, soft light, and compare it to midday sun for stronger shadows. Practice using a simple reflector to bounce light back onto your subject, or experiment with a basic flash setup to understand the creative possibilities of artificial lighting.
Post-Processing Magic: Enhancing Your Photos with Editing Software
Post-processing is the final step in realizing your photographic vision. Editing software like Adobe Lightroom or Photoshop allows photographers to enhance their images, correcting exposure, adjusting colors, and removing distractions. While the goal is to improve the photo, maintaining a natural look is often essential to preserving its authenticity.
Consider a travel photograph of a bustling market. Post-processing can enhance the vibrancy of colors, bringing the scene to life, while subtle adjustments to contrast and clarity can add depth and dimension. Removing any unwanted elements, like stray people or litter, can help focus the viewer’s attention on the main subject.
Tip: Start with the basics: straighten your horizon, adjust the exposure, and enhance the colors to reflect what you saw. Practice with non-destructive editing techniques, such as using adjustment layers or virtual copies, to allow creative freedom without altering the original image.