Understanding the Exposure Triangle
The exposure triangle is a fundamental concept in photography that consists of three elements: aperture, shutter speed, and ISO. Mastering this triangle allows photographers to control the exposure and aesthetics of their images. Aperture affects the depth of field, shutter speed determines motion blur or freeze action, and ISO adjusts the camera’s sensitivity to light.
For instance, when capturing a landscape, you might choose a small aperture (high f-stop) to ensure everything from the foreground to the background is in focus. A slower shutter speed might be necessary in such low-light scenarios, which requires a tripod to avoid camera shake. If handheld, increasing the ISO can help maintain a faster shutter without compromising exposure.
Actionable Tip: Practice by manually adjusting your camera settings. Start with aperture priority mode (Av/A) to observe how the camera adjusts shutter speed and ISO. Gradually switch to full manual mode to gain complete control, and take note of how each adjustment affects your final image.
Composing Your Shot with the Rule of Thirds
The rule of thirds is a composition technique that divides an image into a 3×3 grid, both horizontally and vertically. Placing key elements along these lines or at their intersections creates a more balanced and engaging photograph. This technique helps guide the viewer’s eye and adds interest to the image.
A classic example is a portrait where the subject’s eyes align with the top third horizontal line, creating a natural focal point. In landscape photography, placing the horizon on the top or bottom third rather than the center makes the composition more dynamic and pleasing.
Actionable Tip: Use your camera’s grid overlay feature, if available, to compose your shots using the rule of thirds. Experiment with different placements of your main subject and observe how it affects the overall balance and interest of your photographs.
Harnessing Natural Light
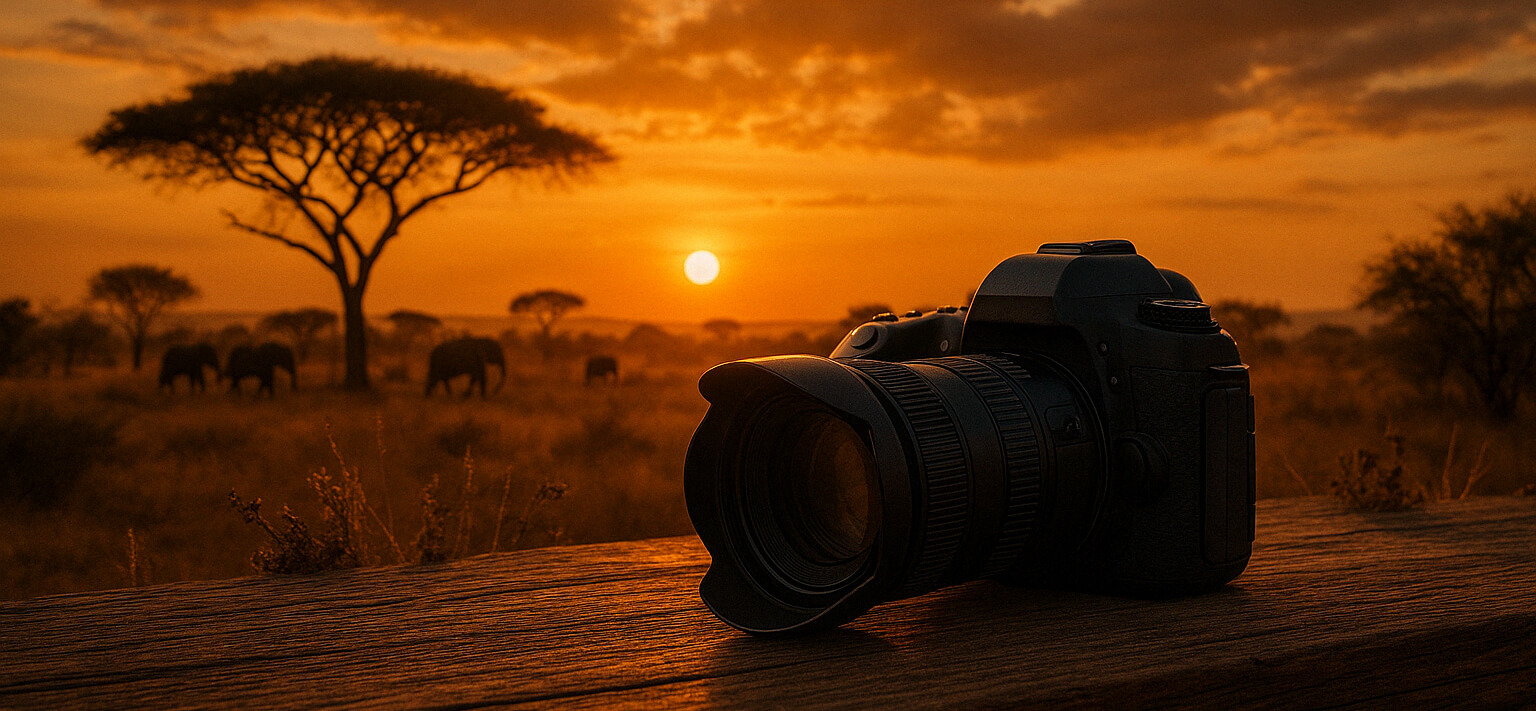
Natural light is one of the most versatile and accessible resources for photographers. Understanding how to work with it can significantly enhance your images. The quality, direction, and intensity of natural light can dramatically change the mood and clarity of a photograph.
Golden hour, the period shortly after sunrise or before sunset, is renowned for its soft, warm light and long shadows, making it ideal for portraits and landscapes. Conversely, midday sun can be harsh, creating strong contrasts and deep shadows, which is often challenging for portraits but can add drama when shooting architecture or street photography.
Actionable Tip: Plan your shoots around the time of day to make the most of natural light. Use a reflector to bounce light back onto your subject during harsh midday conditions, or seek shaded areas to diffuse the light for softer portraits.
Post-Processing for Impact
Post-processing is a vital step in modern photography, allowing photographers to enhance and refine their images. Software like Adobe Lightroom or Photoshop provides tools to adjust exposure, contrast, color balance, and sharpen details, transforming a good photo into a great one.
An example is a landscape photo shot during an overcast day. While the raw image may appear flat, adjusting the contrast and clarity in post-processing can bring out textures and depth, and selectively increasing vibrancy can add life to muted colors.
Actionable Tip: Start with basic adjustments such as cropping, straightening, and correcting exposure. Gradually explore advanced techniques like using layers and masks in Photoshop to apply targeted adjustments without affecting the whole image. Consistent practice will increase your post-processing skills and help you develop a unique photographic style.