Understanding Exposure: The Key to Perfect Shots
Exposure is one of the fundamental aspects of photography that every photographer, whether an enthusiast or a professional, must master. It involves the control of how much light reaches the camera sensor, which in turn affects how bright or dark an image appears. Exposure is determined by three key settings: aperture, shutter speed, and ISO, often referred to as the „exposure triangle“.
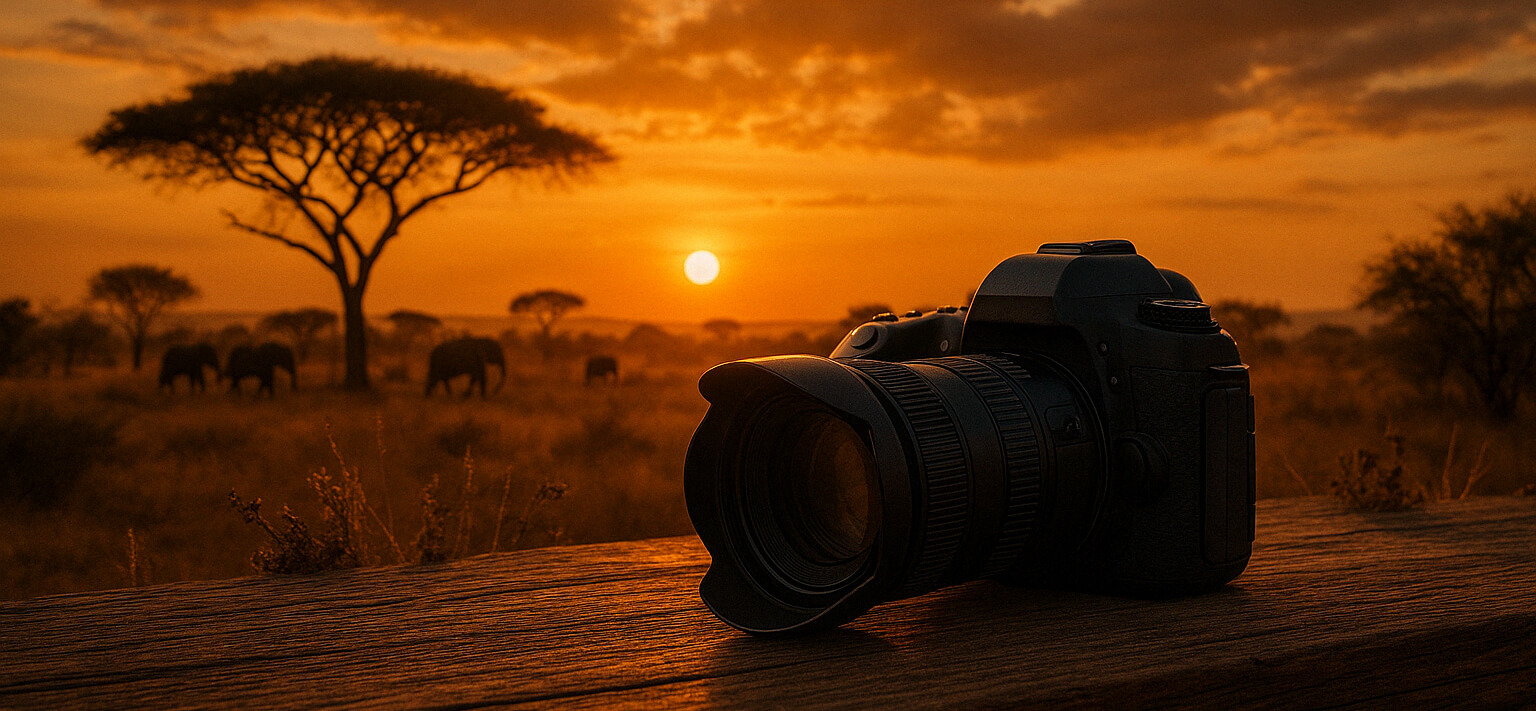
For instance, if you’re photographing a sunset, you might choose a smaller aperture (higher f-stop number) to capture more of the scene in focus, paired with a slower shutter speed to allow more light to hit the sensor, and a low ISO to maintain image quality. Balancing these elements is crucial to achieving the desired exposure.
An actionable tip is to experiment with your camera’s manual mode, adjusting each of the exposure triangle components to see how they affect your photos. Start by photographing a static object in varying light conditions, and take notes on how different settings impact the final image.
Composition Techniques for Captivating Images
Composition is the art of arranging elements within your frame to create a visually appealing image. One of the most well-known principles is the „Rule of Thirds“, which involves dividing your frame into nine equal segments by two horizontal and two vertical lines. Placing the subject along these lines or at their intersections can lead to more dynamic compositions.
Consider a portrait shot. By positioning the subject’s eyes along the top third line, you can create a more engaging photograph that draws viewers in. Similarly, when capturing landscapes, placing the horizon along one of the horizontal thirds can enhance the balance and interest of the photo.
As a practical exercise, use the grid feature on your camera or smartphone to align subjects according to the Rule of Thirds. Practice this technique by taking photos of different subjects like architecture, nature, and people, and observe how it transforms the visual impact of your images.
Mastering Lighting: Natural and Artificial
The quality and direction of light can make or break a photograph. Understanding how to work with both natural and artificial light is essential for creating mood and depth in your images. Natural light, such as sunlight, can be soft and diffused during golden hours or harsh and direct at midday. Artificial lighting, including flash and studio lights, offers control and consistency.
For example, when shooting portraits outdoors, using the soft, warm light during the golden hour (shortly after sunrise or before sunset) can create flattering and magical images. Alternatively, if shooting indoors, a softbox can diffuse artificial light to mimic natural lighting conditions.
To enhance your skills, try capturing the same subject under different lighting conditions and times of day. Observe how the light’s direction and quality affect the mood and texture of your photos. Experiment with using reflectors or diffusers to control and modify light as needed.
Post-Processing: Enhancing Your Images
Post-processing is the final step in the photography workflow that allows photographers to enhance and refine their images. Using software like Adobe Lightroom or Photoshop, photographers can adjust exposure, contrast, color balance, and more to achieve the desired aesthetic. Post-processing is not about fixing poorly taken photos but enhancing them to match the photographer’s vision.
Consider a landscape photo taken on a cloudy day. Through post-processing, you can adjust the contrast to add depth, increase the saturation to make colors pop, and use a graduated filter to enhance the sky. These adjustments can transform a flat image into a vibrant masterpiece.
For an actionable technique, start by learning basic adjustments such as cropping, straightening, and adjusting exposure and white balance. Gradually incorporate more advanced techniques like dodging and burning or using layers and masks to fine-tune specific areas of your photos.