Understanding Light in Nature Photography
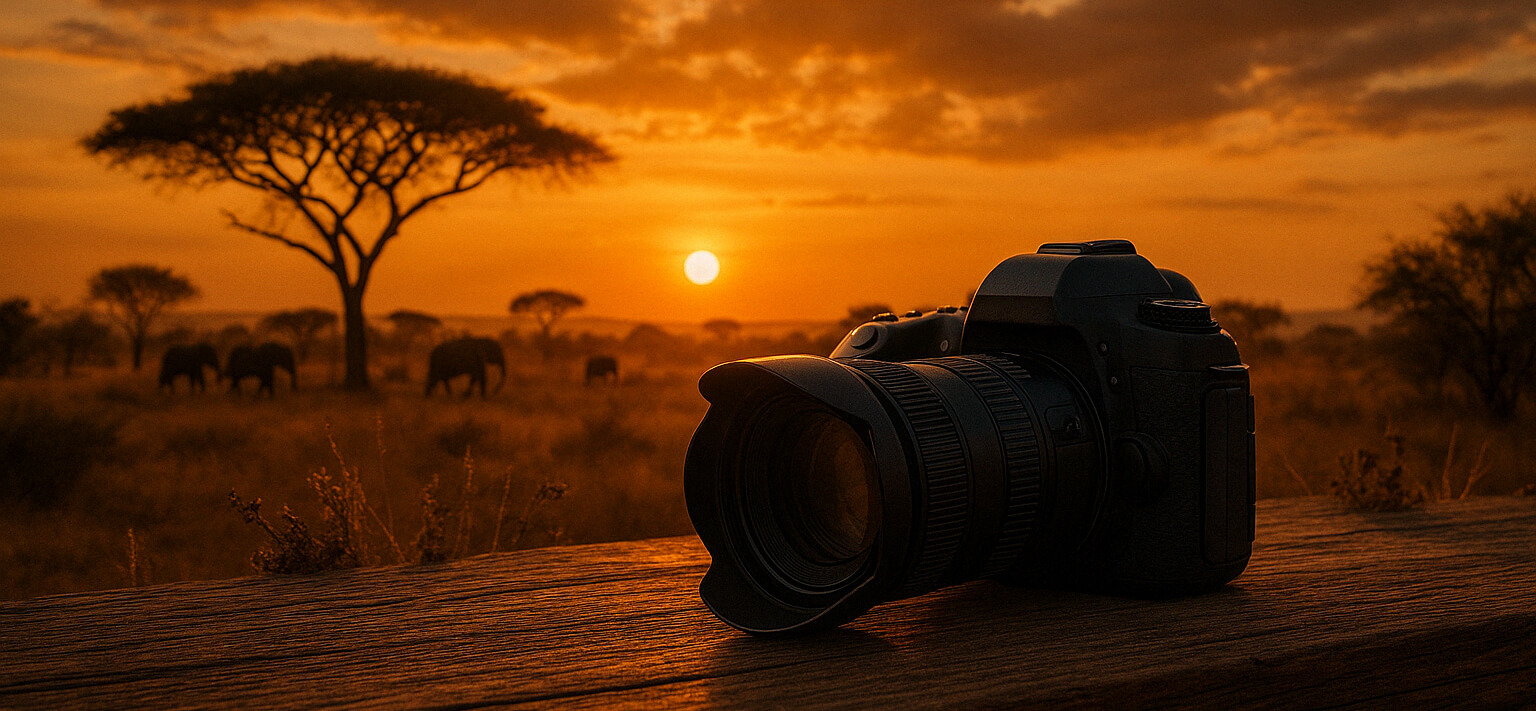
Light is the essence of photography, and understanding how to use it effectively can transform your nature photography. The quality, direction, and color of light can dramatically impact the mood and emotion of your image. In nature photography, natural light is your primary source. Early morning and late afternoon, known as the golden hours, provide soft, diffused light that can enhance the beauty of landscapes and wildlife.
Consider the example of photographing a forest at sunrise. The gentle rays filtering through the trees create a magical atmosphere, highlighting the mist and adding depth to the scene. This time of day can bring out textures and colors that aren’t visible under harsh midday sun.
To practice utilizing light, try a sunrise shoot at a local park or nature reserve. Focus on capturing the changing light and how it interacts with your subject. Experiment with backlighting to create silhouettes and rim lighting for added drama. Remember, patience is key; sometimes waiting for the perfect moment can make all the difference.
Composing the Perfect Shot
Composition is a crucial element that can elevate a simple nature shot to something extraordinary. The rule of thirds is a foundational principle where you imagine dividing the frame into a grid of nine equal parts. Positioning key elements along these lines or their intersections can create balance and interest.
For instance, when photographing a mountain range, placing the peaks along the upper third of the frame can emphasize their grandeur against a vast sky. This technique draws the viewer’s eye naturally to the focal point of the image.
As an exercise, take a walk in a nearby natural area and practice framing your shots using the rule of thirds. Look for leading lines, such as a winding path or river, to guide the viewer’s eye. Experiment with different perspectives, like getting low to the ground or shooting from a higher vantage point, to find unique compositions.
Capturing Movement in Nature
Nature is dynamic, and capturing movement can bring your photographs to life. Whether it’s a waterfall, rustling leaves, or wildlife in action, understanding how to convey motion can add excitement and narrative to your images. Using a slower shutter speed allows you to create motion blur, giving a sense of speed and fluidity.
Imagine photographing a cascading waterfall. By setting your camera to a slow shutter speed, you can capture the smooth, silky flow of water, contrasting beautifully with the still rocks surrounding it. This technique requires a steady hand or a tripod to avoid camera shake.
To experiment with motion, find a location with moving water or trees swaying in the wind. Set your camera to shutter priority mode and select a slower shutter speed, such as 1/15 or 1/30 of a second. Review your images and make adjustments, increasing or decreasing the speed to achieve the desired effect.
Maximizing Depth of Field
Depth of field (DoF) refers to the range of distance within a photo that appears acceptably sharp. In nature photography, controlling DoF helps emphasize your subject while maintaining context within the environment. A wider DoF keeps more of the scene in focus, which is ideal for expansive landscapes.
Consider a photograph of a flower in a meadow. By using a wide aperture (such as f/16), both the flower and the distant mountains can be in focus, creating a comprehensive view that tells a more complete story of the location.
To practice, take your camera to a place with varied subjects, like a botanical garden. Use aperture priority mode to adjust the f-stop and observe how it affects the sharpness of your foreground and background. Pay attention to how the depth of field changes the narrative of your photograph, and experiment with different settings to find the balance that suits your creative vision.