Mastering the Exposure Triangle: Aperture, Shutter Speed, and ISO
The core of photography lies in understanding the exposure triangle, which comprises aperture, shutter speed, and ISO. Mastering these elements allows you to control the amount of light entering your camera, directly affecting the quality of your photographs. Let’s dive deep into each component.
Aperture
Aperture refers to the size of the lens opening and is measured in f-stops. A lower f-stop number, like f/1.8, indicates a larger opening, allowing more light to hit the sensor. This is ideal for low-light conditions or achieving a shallow depth of field, which creates a beautifully blurred background. To experiment, set your camera to Aperture Priority mode (A or Av) and adjust the f-stop to see how depth of field changes your subject’s focus.
Shutter Speed
Shutter speed determines how long the camera’s shutter remains open, capturing motion in your images. A fast shutter speed (e.g., 1/1000s) freezes action, perfect for sports or wildlife photography. Conversely, a slow shutter speed (e.g., 1/30s) can create motion blur, useful for capturing the fluidity of a waterfall. To practice, use Shutter Priority mode (S or Tv), and try photographing moving objects with different speeds to observe the outcomes.
ISO
ISO measures the camera sensor’s sensitivity to light. A lower ISO (e.g., 100) is ideal for bright conditions, resulting in less image noise. Higher ISO settings (e.g., 3200) are useful in low light but can introduce grain. Start by setting your camera to ISO Auto and then manually adjust it in Manual mode as you gain confidence, balancing the need for sensitivity with the desire for image clarity.
Advanced Composition Techniques: Beyond the Rule of Thirds
While the rule of thirds is a fundamental guideline, advanced composition techniques can elevate your photography, creating more dynamic and engaging images.
Leading Lines
Leading lines guide the viewer’s eye through the image, creating depth and interest. These lines can be literal, like roads and fences, or implied, such as a line of sight. Practice by photographing landscapes or cityscapes where natural or man-made lines draw attention toward your subject.
Framing
Using elements within the scene to frame your subject adds context and focus. Look for natural frames, like arches, windows, or trees. Position your subject within these frames to isolate it from the background and add layers to your composition.
Negative Space
Negative space, the area surrounding your main subject, can create a striking contrast and emphasize your subject’s importance. Experiment by placing your subject against a vast, empty sky or an uncluttered wall, allowing it to stand out dramatically.
Post-Processing: Enhancing Your Images with Software
Post-processing is an essential skill, allowing photographers to refine their images and bring their creative vision to life. Here, we’ll focus on using Adobe Lightroom, a powerful tool for both beginners and seasoned pros.
Basic Adjustments
Start with the Basic panel. Adjust exposure to correct overall brightness, and tweak contrast to enhance detail. Use the white balance slider to correct color temperature, ensuring your image matches the scene’s lighting. Practice by importing a series of images with different lighting conditions and adjusting these settings to achieve a natural look.
Advanced Techniques
Explore advanced tools like the HSL panel to adjust hue, saturation, and luminance for specific colors, enhancing or toning down elements selectively. The Graduated Filter can improve skies or foregrounds, and the Brush tool allows for precise adjustments to specific areas. Practice by selecting an image with complex lighting and experimenting with these tools to see how subtle changes can dramatically improve your image.
Final Touches
Finally, ensure you crop and straighten your image for the best composition. Use the Spot Removal tool to eliminate distractions and maintain focus on your subject. Export your final image at the desired resolution, considering the platform for sharing, whether it’s online or in print.
Lighting Techniques: Manipulating Light for Stunning Photos
Understanding and manipulating light is crucial in photography, as it affects mood, texture, and detail. Let’s examine how to use natural and artificial light effectively.
Natural Light
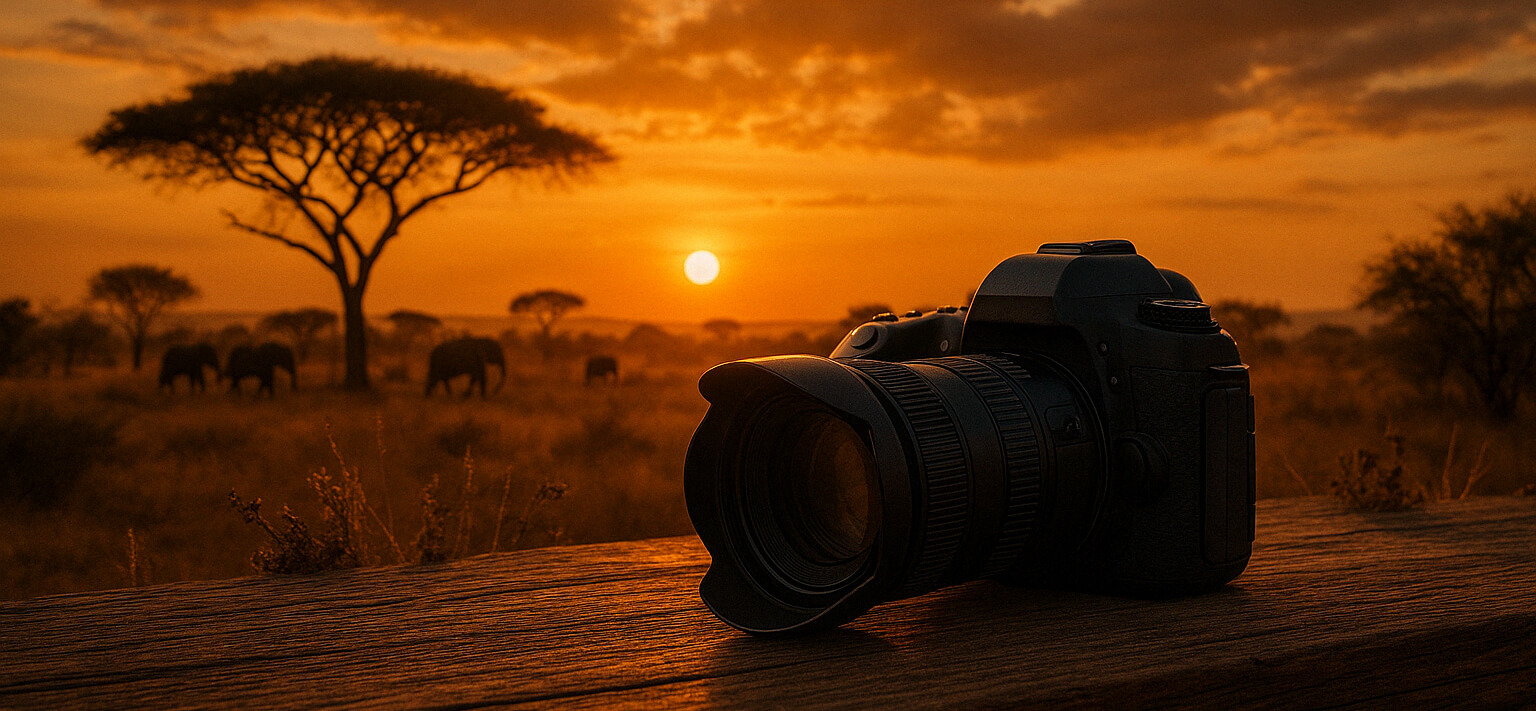
Golden hour, shortly after sunrise or before sunset, provides soft, warm light that’s flattering for portraits and landscapes. Practice by photographing the same scene at different times of day to observe how light direction and quality change the mood and appearance.
Artificial Light
Using artificial light, such as flash or continuous lighting, can help control your scene. A flash can freeze motion and add fill light, while continuous lighting allows you to see real-time adjustments. Experiment with off-camera flash to create dramatic shadows or fill flash to soften harsh sunlight when photographing portraits.
Reflectors and Diffusers
Reflectors bounce light back onto your subject, useful in shaded areas or to fill in shadows. Diffusers soften harsh light, reducing contrast and preventing overexposed highlights. Practice by setting up a simple portrait shoot, using a reflector to fill shadows and a diffuser to soften midday sun.