Understanding the Exposure Triangle
The exposure triangle is a fundamental concept in photography that involves the integration of three crucial elements: ISO, aperture, and shutter speed. Each of these components plays a vital role in determining the exposure of your photographs. The ISO controls the sensitivity of your camera’s sensor to light, the aperture regulates the opening of the lens, allowing more or less light to reach the sensor, and the shutter speed determines the duration the sensor is exposed to light.
For example, if you’re shooting in low light conditions, you might increase the ISO to make the camera sensor more sensitive to light. However, this can introduce noise into your images, so you might also experiment with a wider aperture to allow more light in, balancing it with a slower shutter speed.
Actionable Tip: Practice shooting in manual mode to gain better control over the exposure triangle. Set up a simple scene in varying lighting conditions and adjust each element of the triangle to see how they interact. This hands-on approach will deepen your understanding of how these settings affect your final image.
Mastering Composition Techniques
Composition is the art of arranging elements within a frame to create a visually pleasing photograph. Understanding composition is crucial for both aesthetics and storytelling. Some key techniques include the rule of thirds, leading lines, framing, and symmetry.
Consider a landscape photograph where the horizon is placed along one of the horizontal lines of the rule of thirds. This simple adjustment can make the image more engaging. Leading lines, such as a road or a river, can draw the viewer’s eye into the photograph, guiding them through the scene.
Actionable Tip: Create a series of images focusing on one composition technique at a time. For instance, spend a day capturing leading lines in urban environments or practicing symmetry in architectural photography. This exercise will help train your eye to see and utilize these techniques instinctively.
Utilizing Natural Light to Your Advantage
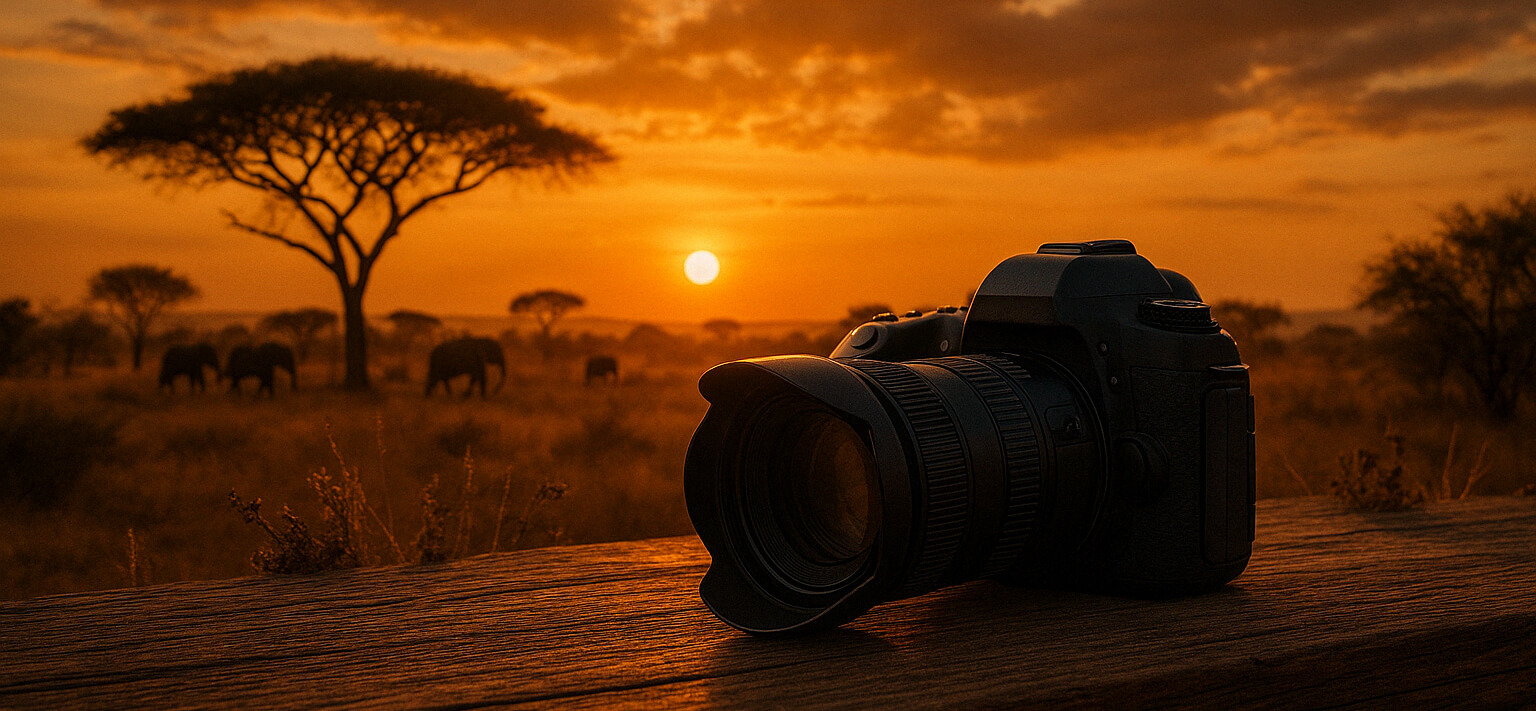
Natural light is a powerful tool in photography, often preferred over artificial lighting for its ability to render colors and textures beautifully. The quality of natural light changes throughout the day, offering different opportunities for creating mood and atmosphere in your images.
Golden hour, which occurs shortly after sunrise and before sunset, provides a soft, warm light that is flattering for portraits and landscapes alike. Conversely, harsh midday sunlight can create strong contrasts and shadows, which might be used creatively for dramatic effects.
Actionable Tip: Plan a photo session at different times of the day to observe how natural light influences your images. Experiment with backlighting during golden hour or use reflected light by positioning your subject near a bright surface to soften harsh shadows.
Post-Processing for Enhanced Imagery
Post-processing is the final step in bringing your photographic vision to life. It involves editing your images using software such as Adobe Lightroom or Photoshop to enhance aspects like color, contrast, and sharpness. While post-processing can dramatically improve your images, it’s important to maintain a balance to avoid over-editing.
Consider a portrait where you might adjust the exposure to brighten the subject’s face, enhance the eyes using selective sharpening, and apply subtle color grading to create a cohesive look. Each adjustment should aim to highlight the natural beauty of the photograph without making it look unnatural.
Actionable Tip: Start by creating a post-processing workflow that includes basic adjustments like cropping, exposure correction, and color balancing. As you become more comfortable, experiment with advanced techniques like dodging and burning or frequency separation for retouching. Consistent practice will refine your skills and help you develop a unique editing style.