Understanding Your Camera: Beyond the Basics
Whether you’re an enthusiastic amateur or a seasoned professional, mastering your camera is essential to capturing stunning images. Modern cameras, whether DSLR or mirrorless, come equipped with a plethora of settings that can be overwhelming. However, understanding these settings can significantly enhance your photography.
For instance, let’s consider the aperture. Aperture is measured in f-stops and controls the amount of light that enters the camera. A lower f-stop number (e.g., f/1.8) means a larger aperture, allowing more light in, which is ideal for low-light conditions and creating a shallow depth of field. This setting is perfect for portrait photography, where you want your subject to stand out against a beautifully blurred background.
A real-world example is shooting in a dimly lit cafe. By using a wide aperture like f/2.0, you can capture the ambient light and maintain a sharp focus on your subject. However, this also requires careful focusing, as the depth of field is very shallow at wide apertures.
To practice, take your camera to a local park and experiment with different aperture settings. Notice how the depth of field changes with each adjustment. This exercise will help you understand the relationship between aperture, light, and depth of field.
The Importance of Lighting: Natural vs. Artificial
Lighting is a cornerstone of photography, profoundly affecting the mood and quality of your images. Understanding the differences between natural and artificial lighting can elevate your photographic skills.
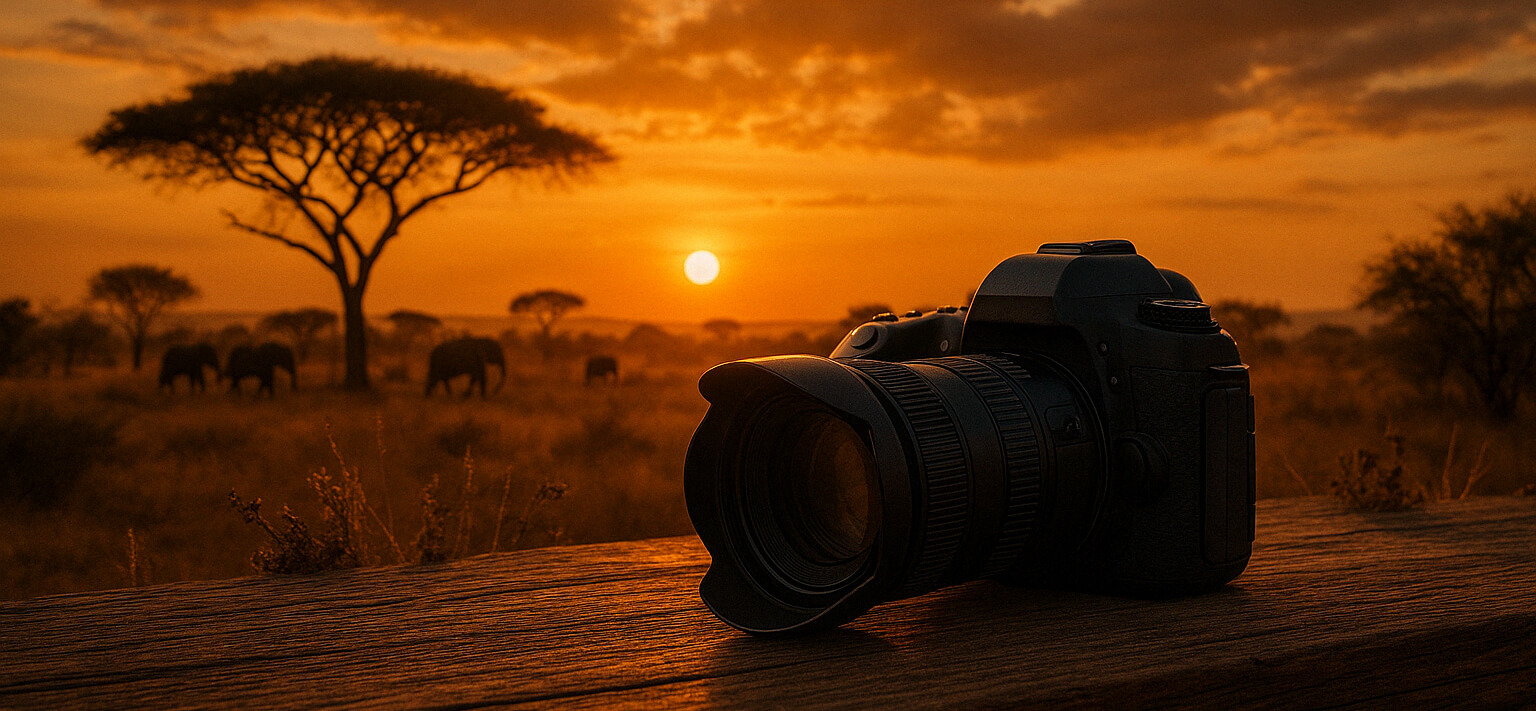
Natural light, such as sunlight, is dynamic and varies depending on the time of day, weather, and location. For example, the golden hour—shortly after sunrise or before sunset—offers a soft, warm light that is perfect for capturing landscapes and portraits.
In contrast, artificial lighting, such as studio lights or flash, provides consistency and control. This type of lighting is essential in studio photography where you aim for a specific look or need to shoot at any time of day.
An actionable technique is to create a portrait using natural light by positioning your subject near a window. Observe how the light falls on their face and adjust their position for the most flattering effect. Then, try replicating this setup with a simple off-camera flash to see the difference artificial lighting makes.
Composition Techniques: Creating Visually Compelling Images
Composition is the art of arranging elements within a frame to create a balanced and engaging image. Mastering composition can transform a mundane scene into a compelling photograph.
One fundamental technique is the rule of thirds. Imagine your image divided into a 3×3 grid. By placing key elements along the grid lines or at their intersections, you can create more dynamic and interesting photos. This technique helps guide the viewer’s eye through the image and highlights the main subject.
Consider a landscape shot of a beach. By positioning the horizon along the top third line and a solitary surfer at one of the intersections, you create a sense of balance and focus. This approach makes the photograph more engaging than if the horizon were centered.
To practice, use the grid feature available on most cameras and smartphones. Frame your shots by aligning subjects with the grid lines and intersections. This exercise will help you develop an intuitive sense of composition over time.
Post-Processing: Enhancing Your Images
Post-processing is the digital darkroom of modern photography. It allows photographers to enhance and refine their images, bringing their creative vision to life. Understanding key post-processing techniques can significantly improve the quality of your work.
One common adjustment is exposure correction. Sometimes, despite best efforts, photos can be underexposed or overexposed. Using software like Adobe Lightroom or Photoshop, you can adjust the exposure to bring out details in the shadows or recover highlights.
For example, if you’ve captured a portrait with strong backlighting, the subject’s face might be underexposed. By increasing the exposure in post-processing, you can reveal the facial details without losing the background’s warmth and vibrancy.
An actionable tip is to experiment with the histogram tool in your editing software. The histogram shows the tonal distribution of your image. Adjust the exposure, contrast, and highlights to achieve a balanced histogram without clipping the shadows or highlights. This practice will help you produce well-exposed images with greater depth and clarity.