Understanding Exposure: Mastering the Triangle
The foundation of photography revolves around the exposure triangle, which includes aperture, shutter speed, and ISO. Each component plays a crucial role in determining the final image’s exposure. The aperture controls the amount of light entering the lens, affecting depth of field. Shutter speed dictates how long the sensor is exposed to light, influencing motion blur. ISO adjusts the sensor’s sensitivity to light, impacting image noise.
Consider a scenario where you are photographing a bustling cityscape at night. To capture the vibrant lights without blurring the movement of people, you choose a wider aperture (lower f-stop) to let in more light, a faster shutter speed to freeze motion, and a moderate ISO to balance sensitivity and noise.
Actionable Tip: Spend time practicing the exposure triangle by manually adjusting each setting on your camera. Start with a fixed ISO, and experiment with different combinations of aperture and shutter speed to see how they affect your photos. This hands-on approach deepens your understanding of exposure control.
Composition Techniques: The Rule of Thirds and Beyond
Composition is the art of arranging elements within a frame to create a visually appealing photograph. One of the most popular techniques is the rule of thirds, where the frame is divided into nine equal parts. Placing key elements along these lines or their intersections creates a balanced and engaging image.
A landscape photographer might use the rule of thirds by positioning the horizon along the lower third line, with a striking tree or building at one of the vertical intersections. This approach adds depth and guides the viewer’s eye through the image.
Actionable Tip: Practice composing shots using the rule of thirds by enabling the grid feature on your camera or smartphone. As you become comfortable, challenge yourself to break the rule intentionally. Try framing a subject in the center or using leading lines to create tension and focus.
Lighting Skills: Harnessing Natural and Artificial Light
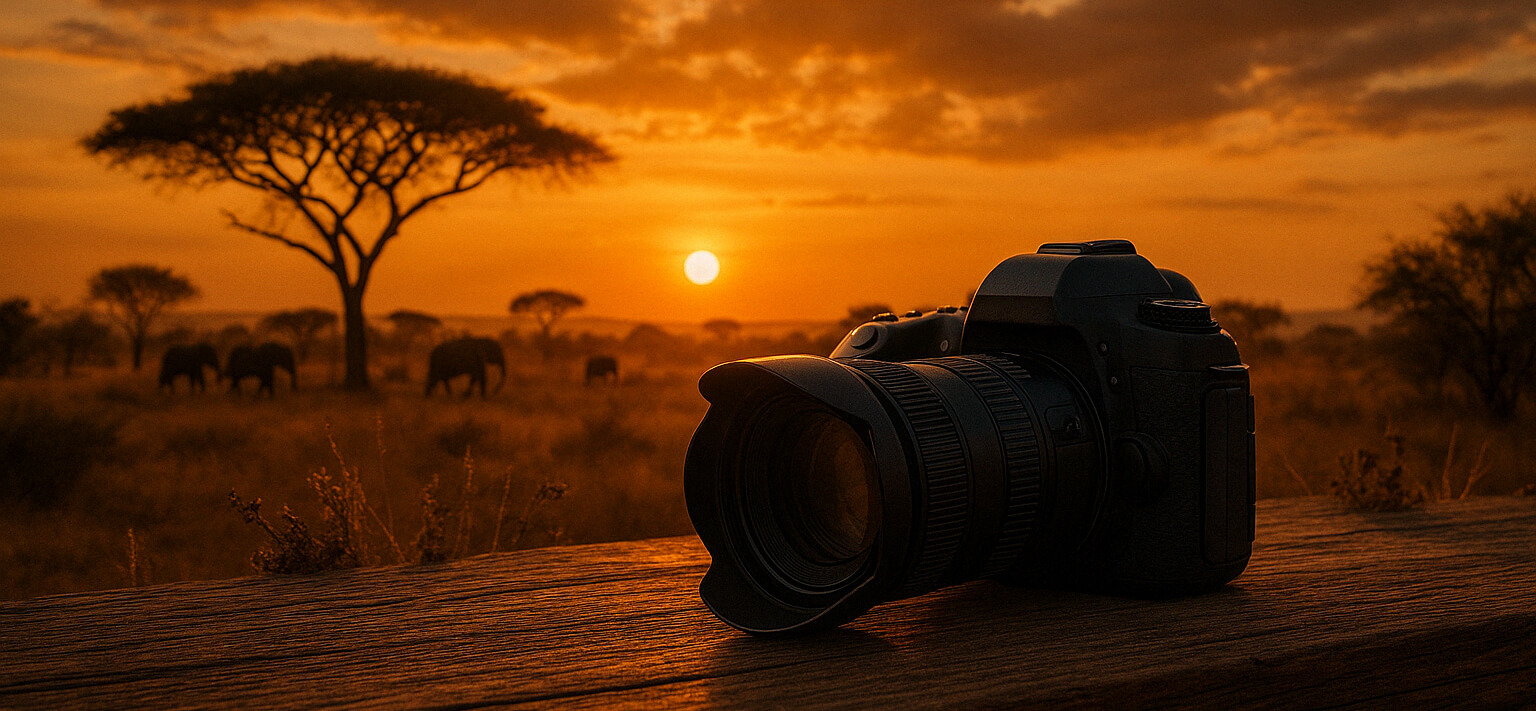
Lighting is a pivotal element in photography, influencing mood, texture, and depth. Understanding how to use both natural and artificial light can significantly enhance your photos. Natural light varies throughout the day, offering soft morning light or dramatic golden hour tones. Artificial light, such as flash or continuous lighting, provides control and consistency, even in low-light conditions.
Imagine shooting a portrait session outdoors as the sun begins to set. Using the warm, diffused light of the golden hour emphasizes skin tones and creates flattering shadows. In contrast, using a portable flash can fill in shadows without overpowering the scene, maintaining a natural look.
Actionable Tip: Experiment with natural light by photographing a subject at different times of the day. Observe how the quality and direction of light affect your images. For artificial light practice, work with a simple off-camera flash, adjusting its angle and intensity to see the resulting changes in shadow and highlight.
Post-Processing: Enhancing Your Images
Post-processing is an essential step in refining your photographs, allowing you to enhance elements like color, sharpness, and exposure. Tools such as Adobe Lightroom or Photoshop offer a wide array of options for adjusting images to achieve your desired result. The key is to enhance without over-processing, maintaining the image’s authenticity.
Consider a scenario where you’ve captured a stunning landscape, but the colors appear muted due to overcast weather. In post-processing, you can adjust the white balance for warmer tones, increase contrast to add depth, and gently boost saturation to bring out the landscape’s natural colors.
Actionable Tip: Develop a consistent post-processing workflow. Start by adjusting the basic settings like exposure, contrast, and white balance. Once satisfied, proceed to more advanced edits such as selective adjustments and sharpening. Regularly compare your edits with the original to ensure you retain a natural look.