Understanding Exposure: The Foundation of Photography
Exposure is the fundamental element that determines how light or dark an image will appear when captured by your camera. It is a crucial skill for any budding photographer to grasp because it directly influences the aesthetic and mood of your photographs. Exposure is controlled by three main components: aperture, shutter speed, and ISO, collectively known as the exposure triangle.
Explanation
The aperture of a camera lens is like the pupil of an eye; it controls how much light enters the camera. Shutter speed determines how long the camera’s sensor is exposed to light. ISO indicates the sensitivity of your camera’s sensor to light. Balancing these three elements allows you to achieve the desired exposure, capturing images that are neither too dark nor too bright.
Real-World Example
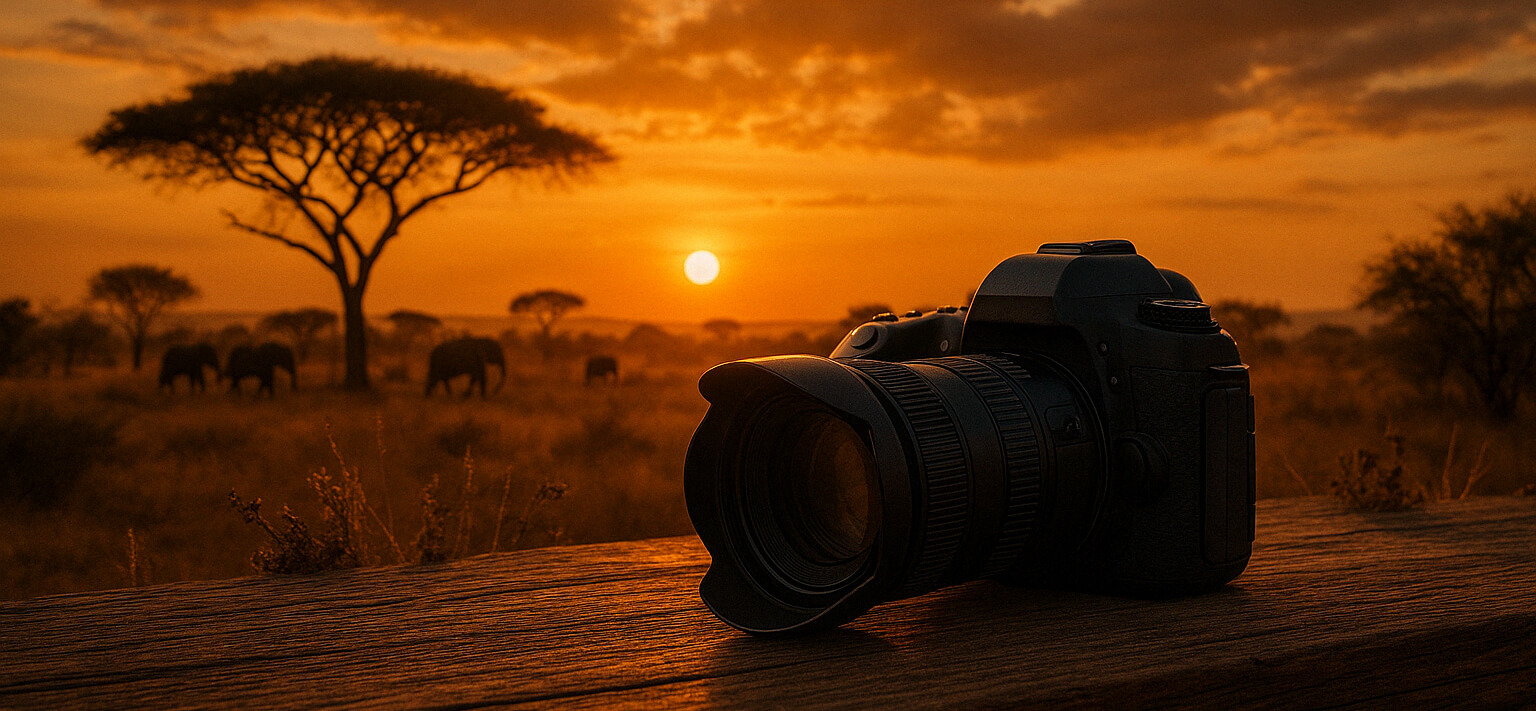
Imagine you’re photographing a sunset. To capture the vibrant colors without overexposing the image, you might choose a small aperture (high f-stop number), a slower shutter speed, and a lower ISO setting. This combination allows you to maintain detail in both the bright sky and the darker foreground.
Actionable Tip
Practice shooting in manual mode to gain a firm understanding of how aperture, shutter speed, and ISO interact. Start by photographing the same scene using different settings to see how each component affects the exposure.
Mastering Composition: The Art of Framing
Composition refers to how elements are arranged within a photograph, and it greatly affects the viewer’s perception of an image. A well-composed photograph can tell a story, convey emotions, and draw the viewer’s eye to the subject. Knowing compositional techniques is essential for creating visually appealing photos.
Explanation
One of the most commonly taught principles is the Rule of Thirds. Imagine dividing your image into nine equal parts with two equally spaced horizontal lines and two vertical lines. Placing the subject along these lines or at their intersections can create more interest and balance than simply centering the subject.
Real-World Example
Consider a landscape photograph with a horizon. Placing the horizon along the top or bottom third of the frame rather than in the middle can provide a more dynamic composition. This technique can emphasize either the sky or the foreground, depending on what is more interesting.
Actionable Tip
When out shooting, use your camera’s grid overlay feature to practice the Rule of Thirds. Experiment with placing your subject at different points of the grid to see how it changes the composition and impact of your photos.
Focusing Techniques: Creating Sharp Images
Achieving a sharp focus in your photographs is another essential skill for any photographer. It enhances detail and ensures that the viewer’s attention is drawn to the intended subject. Focusing correctly can be challenging, especially in low-light environments or when dealing with moving subjects.
Explanation
Cameras offer different focusing modes, such as single-shot (AF-S) for stationary subjects and continuous (AF-C) for moving subjects. Manual focus is another option, giving you full control over where the focus is set. Selecting the right focusing mode is crucial for capturing sharp images.
Real-World Example
Capturing a portrait with a blurred background requires precise focus on the subject’s eyes. Using single-point autofocus in AF-S mode can help you achieve this sharpness, ensuring the subject stands out against a softly blurred backdrop.
Actionable Tip
Practice using different focus modes and points. Start by setting your camera to single-point autofocus and focus on a still object. Then switch to continuous autofocus and try tracking a moving object, like a pet or a person walking.
Lighting: Enhancing Your Photos with Light
Lighting is a powerful tool in photography, influencing the mood, texture, depth, and overall impact of an image. Learning to work with different lighting conditions and sources can dramatically enhance your photographic skills.
Explanation
Natural light, such as sunlight, can be soft and diffused or harsh and direct, depending on the time of day and weather conditions. Artificial lighting, like flash or studio lights, allows for more control over shadows and highlights. Understanding how to use light effectively will help you capture the desired atmosphere in your photos.
Real-World Example
Shooting during the „golden hour“ just after sunrise or before sunset can result in beautifully warm and soft light, casting long shadows and adding a golden hue to your images. This time is ideal for portraits and landscapes alike.
Actionable Tip
Experiment with shooting at different times of day and under various light conditions. Observe how the light’s direction and quality affect your images. Try positioning your subject so that the light hits them from different angles, such as side lighting for dramatic shadows or backlighting for silhouettes.