Understanding Exposure
Exposure is the foundation of photography and refers to how much light reaches your camera sensor. It’s controlled by three elements: aperture, shutter speed, and ISO. The aperture controls the amount of light entering the lens, the shutter speed determines how long the sensor is exposed to light, and the ISO measures the sensor’s sensitivity to light.
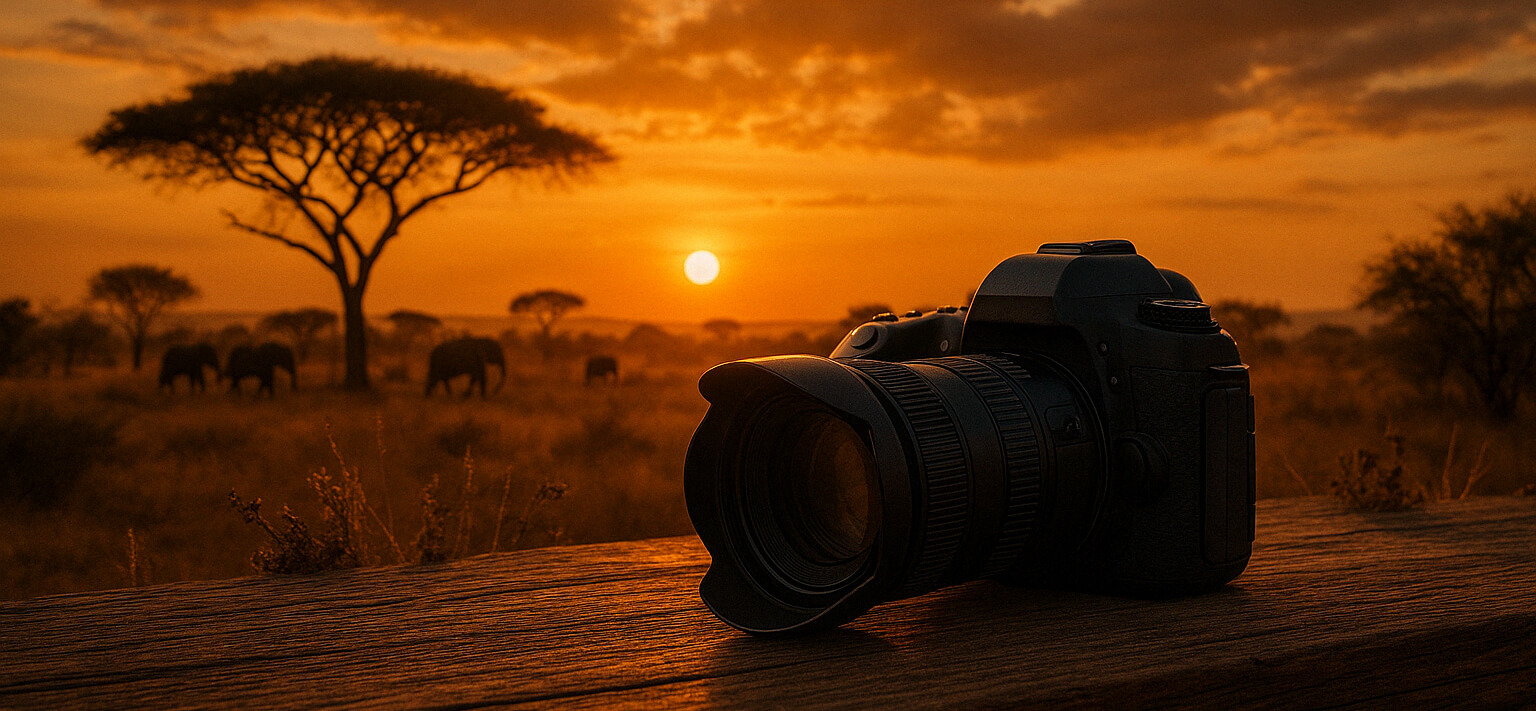
Consider shooting a sunset. A wide aperture (small f-number) will allow more light and create a shallow depth of field, focusing on a specific part of the scene. Adjusting the shutter speed will let you capture the motion of the clouds or freeze them, providing different artistic effects. A lower ISO will result in less noise, but in low-light conditions, you might need a higher ISO to achieve the correct exposure.
To practice, set your camera to manual mode and experiment with different combinations of aperture, shutter speed, and ISO. Start by taking the same photo with various settings and note how each change affects the image. This hands-on experience is crucial for mastering exposure.
Mastering Composition
Composition is how you arrange elements within your frame. It guides the viewer’s eye and creates a more engaging image. The rule of thirds is a fundamental composition technique where you divide your frame into nine equal parts using two horizontal and two vertical lines. Place key elements along these lines or at their intersections.
Imagine photographing a landscape. Instead of placing the horizon in the center, align it along the upper or lower third of the frame to add depth and interest. Position a tree or a person at one of the intersections to draw attention and balance the composition.
To enhance your composition skills, practice using the rule of thirds grid available in most cameras and smartphones. Frame your shots by aligning subjects along these guidelines. As you gain confidence, experiment with breaking the rule intentionally to create unique compositions.
Focusing Techniques
Focusing is critical for capturing sharp images, especially when shooting at wide apertures. Autofocus systems have improved significantly, but understanding how to control focus manually is invaluable. Most cameras offer multiple focus modes such as single-point, continuous, and auto-area.
For instance, when capturing a portrait, using single-point autofocus allows you to choose the exact spot to focus on, typically the subject’s eyes. In sports photography, continuous autofocus tracks moving subjects, ensuring they remain in focus throughout the action.
Try practicing with single-point autofocus in different scenarios. Select a focus point and recompose your shot without losing focus on your subject. This technique, known as focus-and-recompose, is useful for off-center compositions while maintaining a sharp subject.
Post-Processing Basics
Post-processing is the final step in creating a compelling photograph. It involves adjusting elements like exposure, contrast, and color to enhance the image while maintaining its natural look. Software such as Adobe Lightroom or Photoshop offers powerful tools for editing.
Consider a photo taken on a cloudy day. By adjusting the contrast and adding a touch of warmth, you can transform a dull image into a vibrant one. Correcting the exposure and sharpening the subject can further elevate the image quality.
Begin with basic adjustments, such as cropping and straightening, to improve composition. Experiment with exposure and contrast sliders to see their impact. Consistent practice with post-processing will gradually refine your editing style and contribute to your overall photographic vision.