Understanding Exposure: The Foundation of Great Photography
Exposure is the cornerstone of photography, as it determines how light or dark an image will appear. It is controlled by three main elements: aperture, shutter speed, and ISO. Understanding how these elements work together is essential for capturing well-exposed images. Aperture refers to the size of the lens opening, shutter speed controls the duration the camera’s sensor is exposed to light, and ISO determines the sensor’s sensitivity to light. Balancing these three elements allows photographers to capture images that are neither too bright nor too dark.
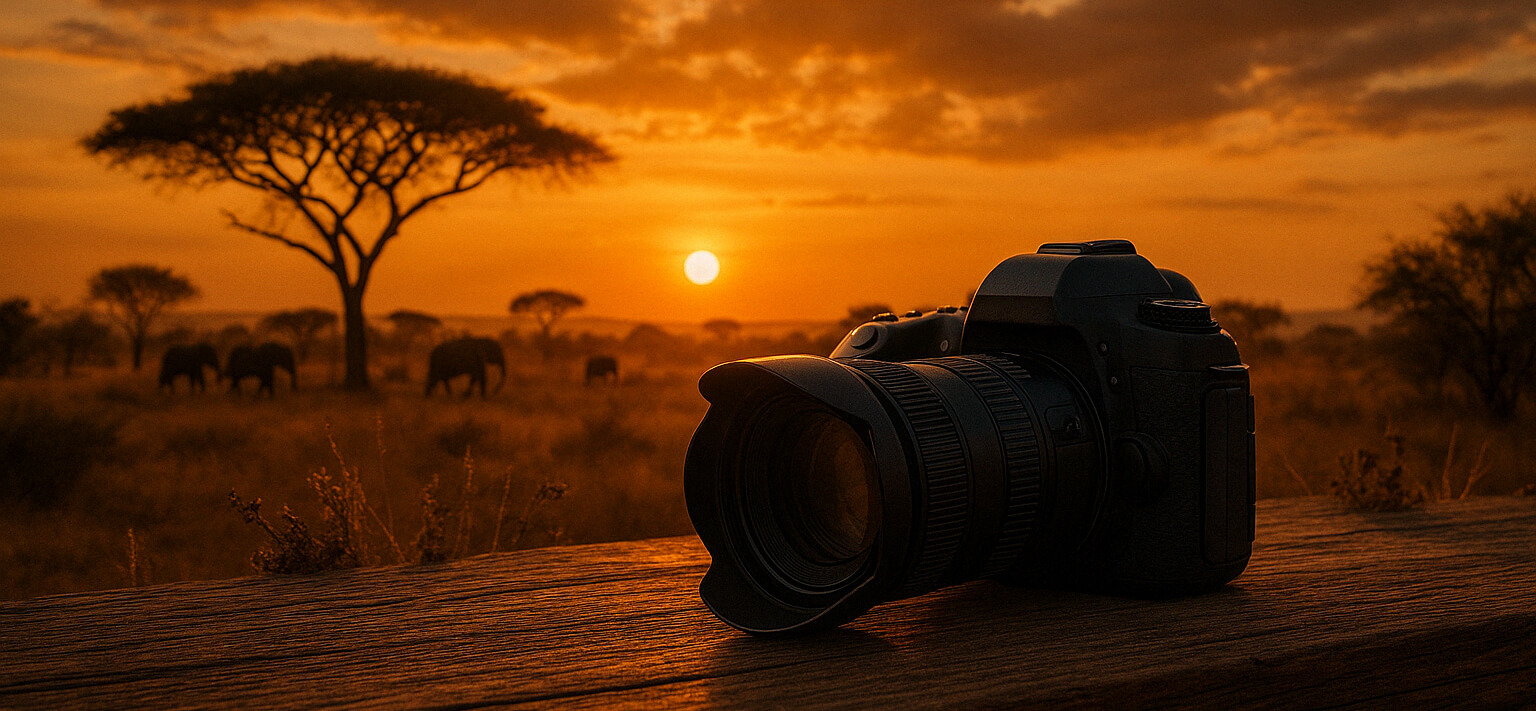
A real-world example of mastering exposure can be seen when shooting a sunset. The bright sun can easily lead to overexposed images, where details in the sky are lost. By adjusting the aperture to a smaller size (higher f-stop), using a faster shutter speed, and a lower ISO, you can capture a well-balanced image that highlights the rich colors of the sky.
An actionable tip for beginners is to experiment with your camera’s manual mode. Take the same shot multiple times, adjusting one of the exposure settings each time. Review how changes affect the image’s brightness and detail, allowing you to develop an intuitive understanding of exposure.
Mastering Composition: Creating Visually Appealing Images
Composition is the art of arranging elements within a frame to create a balanced and visually appealing image. A well-composed photograph draws the viewer’s eye and conveys the intended message or emotion. Key principles of composition include the rule of thirds, leading lines, framing, and symmetry. These guidelines help photographers structure their images in a way that feels natural and engaging.
Consider the example of a landscape photograph featuring a winding road. By applying the rule of thirds, you can position the road to run along one-third of the frame, guiding the viewer’s eye through the scene. Leading lines created by the road draw attention to the horizon, adding depth and interest to the composition.
To practice composition, try using the grid overlay feature on your camera or smartphone. This tool helps you apply the rule of thirds by dividing the frame into nine equal sections. As you compose your shots, align key elements along the grid lines or at their intersections to create balanced and dynamic images.
Focusing Techniques: Ensuring Sharp and Clear Photos
Achieving sharp focus is crucial for any successful photograph, as it highlights the subject and enhances the overall quality of the image. Focus can be controlled manually or automatically, depending on the camera and the photographer’s preference. Key factors influencing focus include depth of field, focal length, and distance from the subject.
For instance, when photographing a portrait, focusing on the subject’s eyes ensures that the viewer’s attention is drawn to the most expressive part of the image. A shallow depth of field, achieved by using a wide aperture (low f-stop), can blur the background, making the subject stand out even more.
A practical technique to improve your focusing skills is to practice selective focus. Choose a subject and experiment with different focal points within the frame. This will help you understand how focus affects the viewer’s perception and improve your ability to create sharp, impactful images.
Lighting: Harnessing Natural and Artificial Light
Lighting is one of the most critical aspects of photography, influencing mood, tone, and clarity. Understanding how to manipulate natural and artificial light allows photographers to enhance their images significantly. Natural light can vary widely throughout the day, offering different qualities such as the soft, warm glow of golden hour or the harsh, direct light at noon. Artificial light, on the other hand, includes flash and studio lighting, which can be controlled and shaped to meet the photographer’s needs.
For example, capturing a dramatic portrait during the golden hour, when the sun is low in the sky, can result in soft, flattering light that adds warmth and depth to the image. Alternatively, using a reflector to bounce sunlight onto the subject can reduce shadows and create a more even exposure.
An actionable lighting tip is to explore the use of reflectors in your photography. Reflectors are affordable and come in various colors to adjust the light’s tone. Experiment by positioning the reflector at different angles to see how it affects the light on your subject, helping you achieve the desired look without additional lighting equipment.