Understanding Exposure
One of the foundational skills every budding photographer must grasp is understanding exposure. Exposure determines how light or dark an image will appear when it’s captured by your camera. It is controlled by three main elements: aperture, shutter speed, and ISO. These elements form what is commonly referred to as the „exposure triangle.“ Learning how each component affects exposure is crucial.
For example, consider a scenario where you’re photographing a stunning sunset. If your images are too dark, you might increase the ISO or reduce the shutter speed to allow more light to hit the sensor. However, increasing the ISO too much can introduce noise, and a slower shutter speed may result in motion blur. Balancing these elements is key to achieving the desired exposure.
An actionable tip is to practice shooting in manual mode. Start by setting your camera to aperture priority (Av or A mode) to control the depth of field, while allowing the camera to adjust the shutter speed automatically. Gradually experiment with different ISO settings and observe how they affect image quality and noise levels. This hands-on practice will help solidify your understanding of exposure.
Mastering Composition
Composition is the art of arranging elements within your frame to create a visually pleasing image. Good composition can transform an ordinary scene into an extraordinary photograph. One of the most fundamental rules of composition is the „Rule of Thirds,“ which suggests dividing your image into nine equal segments using two horizontal and two vertical lines. Placing your subject at the intersections of these lines can create a more balanced and engaging photograph.
Imagine capturing a portrait of a friend at a picturesque location. By positioning their eyes along one of the top third lines, rather than dead center, you draw the viewer’s attention naturally to them while also showcasing the surrounding environment. This technique adds depth and context to the image.
To practice composition, try using the grid feature on your camera or smartphone, which overlays the Rule of Thirds grid on your display. Experiment by placing various subjects at different points on the grid and observe how it alters the image’s impact. This exercise will sharpen your ability to compose compelling shots creatively.
Learning About Lighting
Lighting is a crucial element in photography that can make or break an image. Understanding how to manipulate and utilize light effectively is essential for capturing stunning photos. Natural light, artificial light, and the interplay between them can drastically alter the mood and tone of a photograph. The time of day, weather conditions, and light sources all contribute to the final outcome.
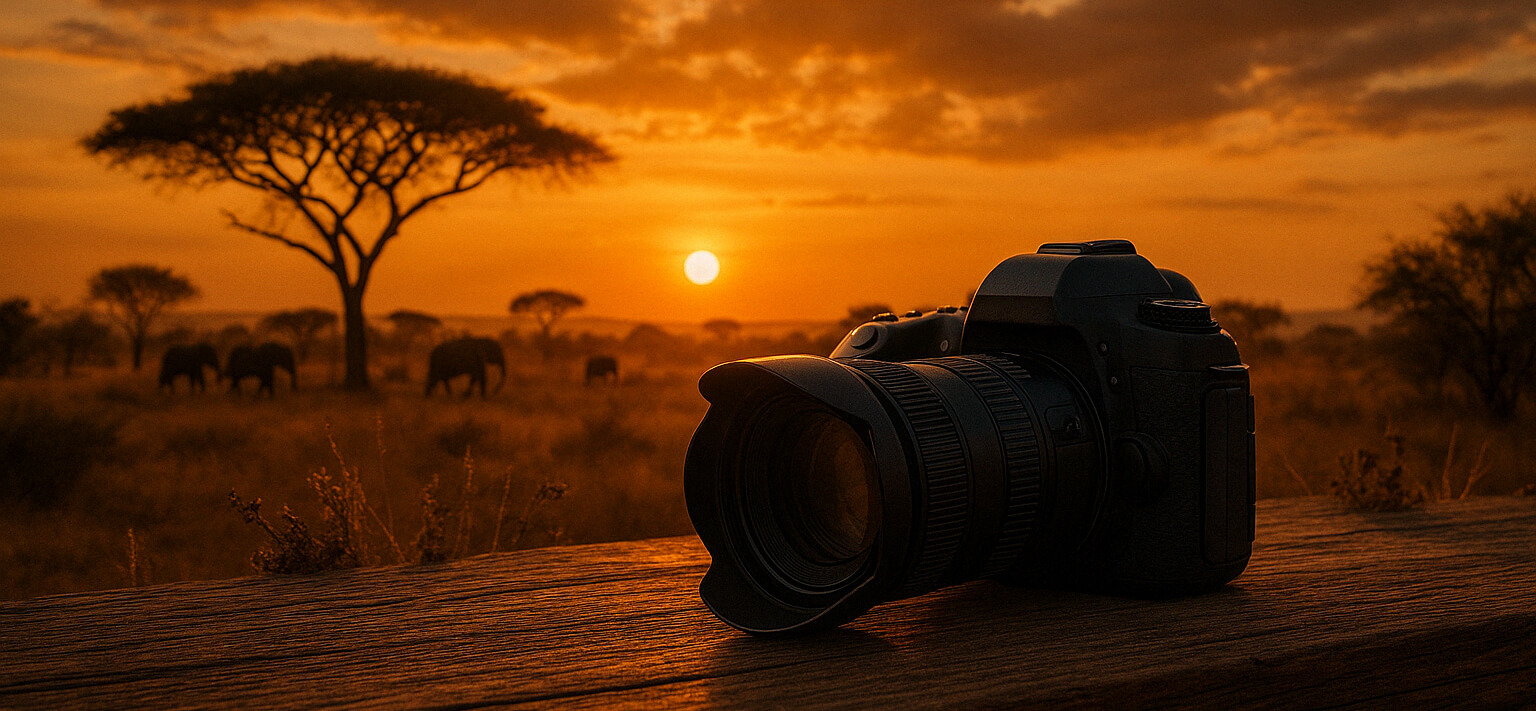
Consider shooting during the „golden hour,“ the period shortly after sunrise or before sunset, when the sun casts a soft, warm glow. This lighting is particularly flattering for portraits and landscapes, as it reduces harsh shadows and highlights, providing a gentle and inviting atmosphere.
An actionable technique is to experiment with backlighting, where the light source is positioned behind your subject. This can create beautiful silhouettes or rim lighting effects that highlight the outline of your subject. Practice adjusting your camera settings to balance the exposure between the bright background and your subject, and observe how different angles and distances affect the outcome.
Post-Processing Techniques
Post-processing is the final step in the photography workflow, enabling photographers to enhance and refine their images. While capturing a well-composed and well-exposed photo is crucial, post-processing allows for further adjustments to color, contrast, and sharpness, helping to bring your vision to life. Popular software such as Adobe Lightroom and Photoshop offer extensive tools for editing.
For instance, you might take a landscape photo that captures a stunning scene but lacks vibrancy due to overcast weather. Using post-processing software, you can adjust the saturation and contrast to enhance the colors and add depth to the image. Subtle adjustments can make a significant difference in transforming an ordinary photo into something exceptional.
To get started with post-processing, begin by learning how to adjust basic settings such as exposure, contrast, and white balance. Experiment with these tools on different photos to understand how they affect the final image. As you become more comfortable, explore more advanced techniques like dodging and burning or using selective color adjustments. Regular practice will improve your skills and enable you to create visually captivating photographs.