Understanding Light in Nature Photography
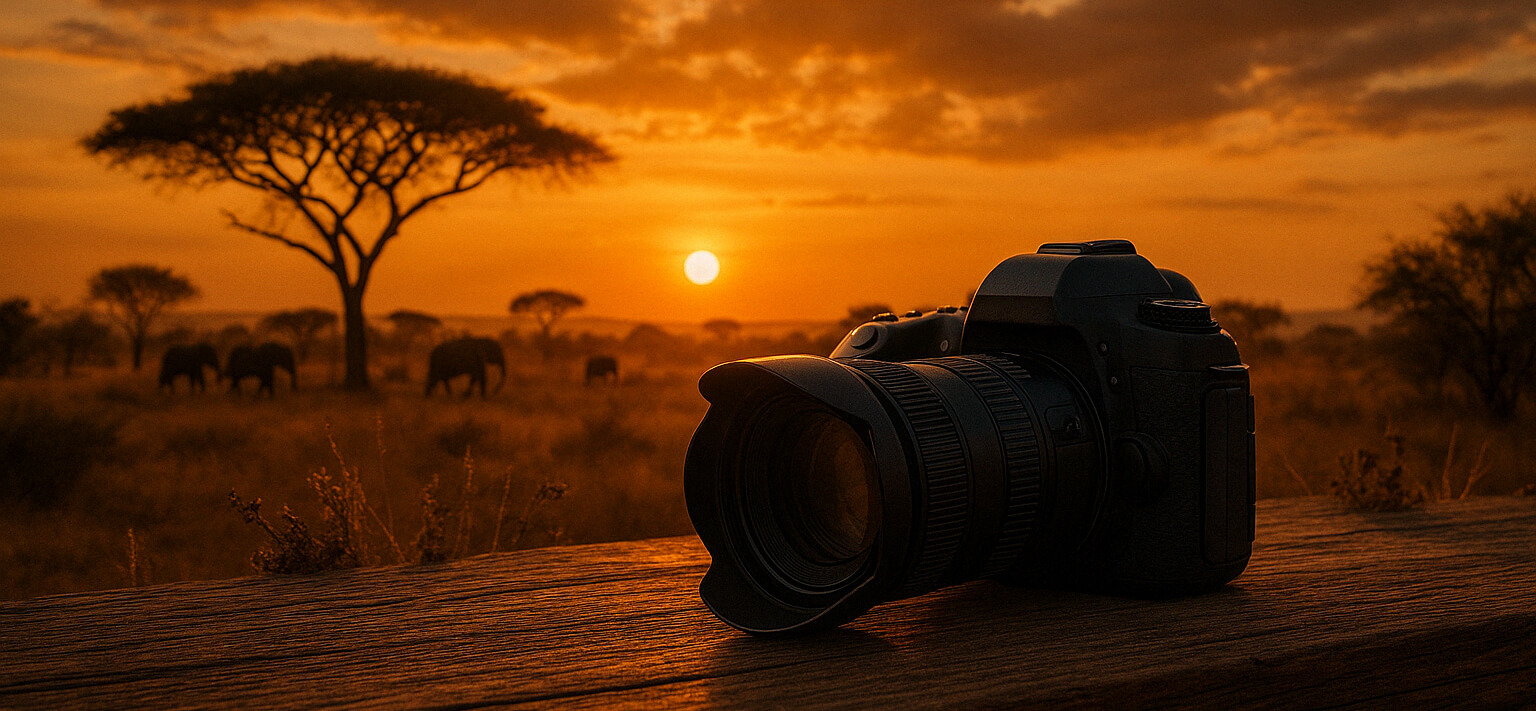
Light is one of the most crucial elements in photography, and in nature photography, it can dramatically affect the mood and outcome of your images. When photographing nature, consider the quality, direction, and color of the light. The golden hours—shortly after sunrise and before sunset—are particularly magical times to shoot. During these periods, the sun is low in the sky, casting a warm, soft glow that adds dimension and depth to your photographs.
For instance, capturing a landscape during the golden hour can transform an ordinary scene into a breathtaking one. The warm hues of the light can enhance the colors of the foliage and the textures of the terrain. A photograph of a forest during this time can showcase the lush greens and the rugged bark of trees in a way that midday sun often washes out.
Actionable Tip: Experiment with different times of the day to see how the changing light affects your images. Try revisiting the same location at sunrise, midday, and sunset to compare the results. You may find that certain scenes that appear flat under harsh midday sun come to life in the softer light of dawn or dusk.
Composing Your Shots with Intention
Composition is the backbone of a strong photograph. In nature photography, it’s vital to approach composition with intention to convey the story you want to tell. The rule of thirds is a basic yet powerful tool. By dividing your frame into a 3×3 grid and placing your subject along these lines or at their intersections, you can create balanced and visually appealing images.
Consider a photograph of a solitary tree in a vast landscape. By placing the tree off-center, according to the rule of thirds, you can emphasize the sense of isolation and the expanse of the surrounding environment. This compositional technique helps guide the viewer’s eye and creates a dynamic interaction between the subject and the background.
Actionable Tip: Practice using the rule of thirds by enabling the grid function on your camera or smartphone. Take a series of shots with your subject placed at different points on the grid to see how it alters the feel of the image. Analyze which compositions resonate with you and why.
Capturing Movement in Nature
Nature is full of movement, from the rush of a waterfall to the sway of trees in the wind. Capturing this motion can add a dynamic element to your photographs. One way to achieve this is by adjusting your shutter speed. A fast shutter speed can freeze action, while a slow shutter speed can create a sense of fluidity and motion blur.
Imagine photographing a waterfall. Using a fast shutter speed, you can capture individual droplets suspended in mid-air, conveying the power of the falling water. Conversely, a slow shutter speed will blur the water, creating a silky, smooth appearance that highlights the waterfall’s continuous flow.
Actionable Tip: Experiment with your camera’s shutter priority mode (Tv or S mode) to adjust shutter speeds easily. Start by photographing running water or a breezy field. Try different speeds to see how they affect the portrayal of movement. A tripod can help keep your camera steady during longer exposures.
Embracing the Details in Macro Photography
Macro photography allows you to explore the intricate details of nature that are often overlooked. This technique involves photographing small subjects up close, revealing textures and patterns not visible to the naked eye. A macro lens or extension tubes can help you achieve high magnification, making tiny subjects appear larger than life.
For example, photographing a dew-covered spider web can unveil an entire universe of detail. The droplets act as tiny lenses themselves, capturing reflections and refracting light in captivating ways. By focusing closely on the web, you can create images that highlight its delicate structure and the interaction of light with the water droplets.
Actionable Tip: Start experimenting with macro photography by choosing a small subject like a flower or an insect. Use a macro lens or attachment and focus on filling the frame with your subject. Pay attention to your depth of field; a shallow depth can isolate your subject against a blurred background, drawing attention to its details.